How to Create a Sticky Menu in WordPress
The menu, being the first thing you see when you open a certain website on a desktop or mobile phone, has to be the center of the website and provide users with instant response.
If you want to offer the best possible customer experience, there is no room for an old-school menu that stays at the top of the webpage, so you have to scroll all the way up to reach it. Luckily for you, creating a sticky menu has never been easier thanks to the WP Sticky plugin.
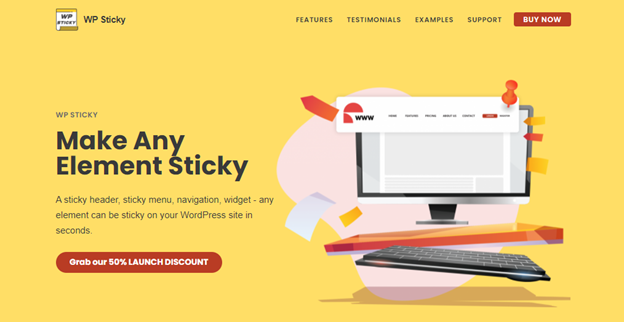
What is WP Sticky?
WP Sticky is an extremely useful plugin that lets you navigate through your website easily by making any particular element “sticky” when you want to scroll the website down.
This way you can create a sticky header, menu, widget, or logo so that your customers can always have quick access and find everything they need without putting in a lot of effort. WP Sticky is very easy to use and compatible with all sorts of themes, plugins, and page builders, so you don’t have to worry about technical issues.
How to Create a Sticky Menu?
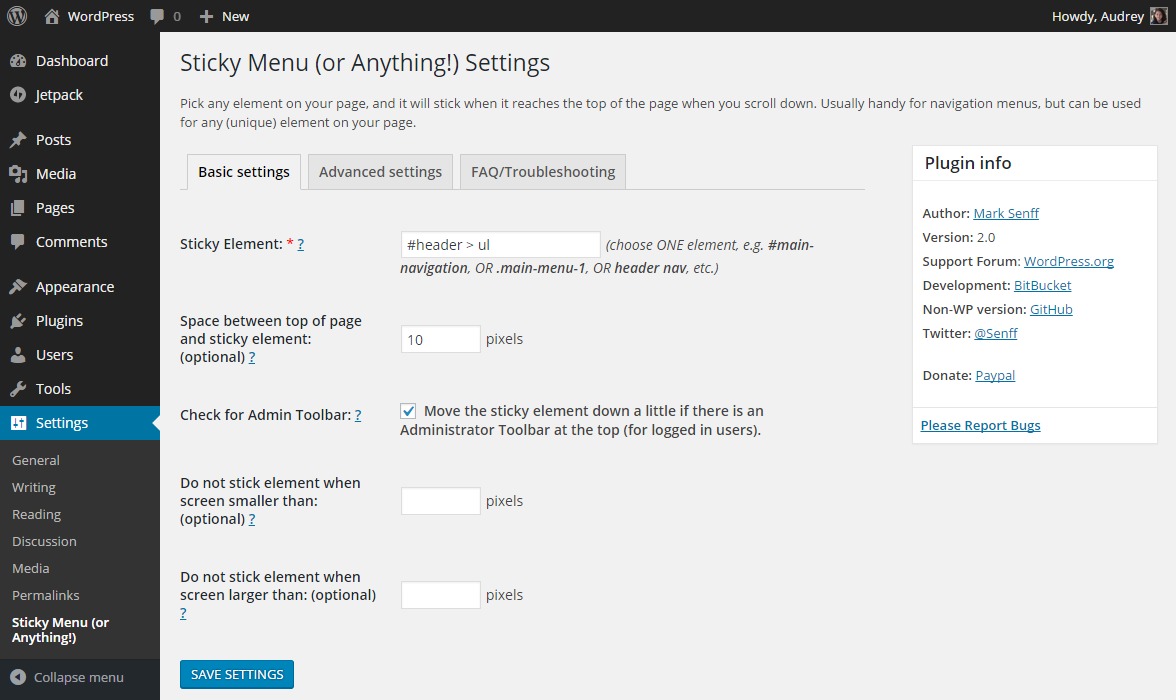
The WP Sticky Menu (or Sticky Header) is a free version of the plugin, and it can be found here: https://wordpress.org/plugins/sticky-menu-or-anything-on-scroll/. The setup of the sticky menu is quite easy and you just have to follow a few steps.
Firstly, you should open the settings tab and choose the right and unique selector for the particular element that you want to make sticky. This can be a simple selector such as “#main-menu”, “main-navigation” and similar, but sometimes you will have to use a more specific selector like “header > ul:first-child” or “nav. top .menu-header ul. main”.
If this seems too complicated for you and you do not want to deal with coding, you should opt for a version that is simpler. In that case, there is WP Sticky PRO. This is a great option if you don’t know much about HTML elements and coding because the PRO version allows the page to open in the Visual Element Picker, where it is enough to select the element that should be sticky, or in this case the menu.
Now we will show you step-by-step how to create a sticky menu with WP Sticky PRO.
Once you have installed and activated the WP Sticky PRO plugin, you can start creating your own sticky elements. To begin with, go to “Settings” and then choose “WP Sticky PRO.” In the upper-left corner, you will see the “Add New Sticky Element” button and you should click on it. Before you start with the customization of the look and behavior of your sticky menu, you should choose a nickname for it.
In the “Basic Options” tab, you should write down the nickname that you have chosen for your menu. The nickname is important so that you can easily identify and recognize the element you need once you will have a lot of active sticky elements. For example, you can name your menu “My Menu” or “Main Menu” and you will always know what it refers to.
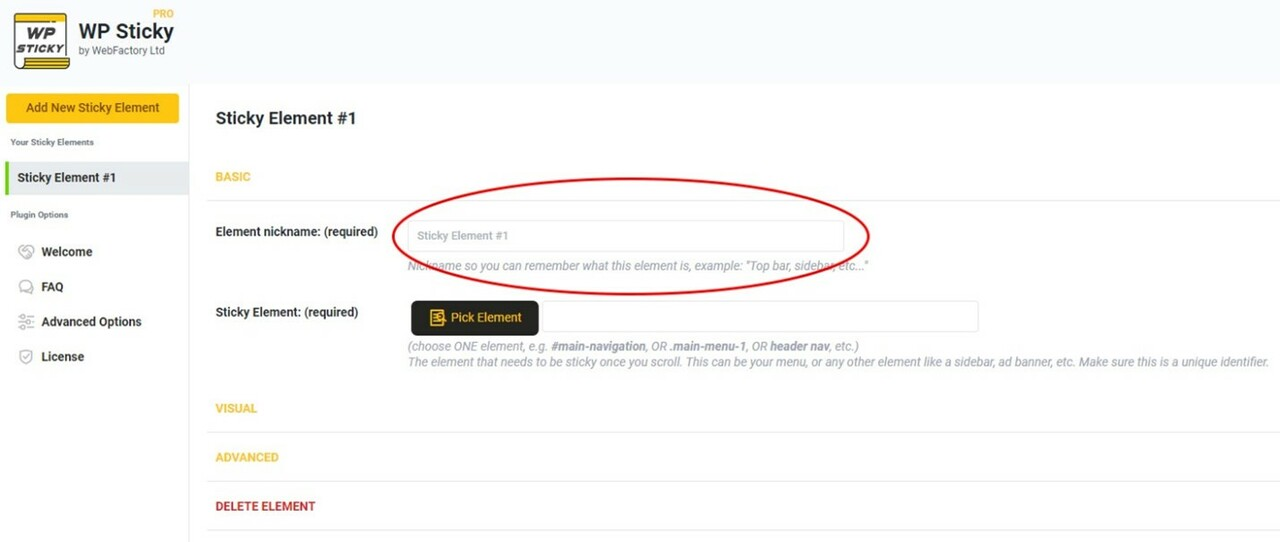
The next step is to show the plugin which element you want to make sticky. You can do this in two different ways. The easier one is by using the Visual Picker where you do not have to manually search for identifiers. You can just go to the “Basic Settings” tab and click on the “Pick Element” button.
After clicking this button, the plugin will load your website with the WP Sticky menu on the top. The plugin will mark certain elements on your website with lines and this way you will easily recognize the element you want to make sticky, or in this case, the menu.
You should simply click on your menu and isolate it from the other elements and then the plugin will find its unique identifier and write it down. The only thing you have to do in the end is to save changes. The other way of doing all that is by writing the unique identifier by yourself if you know it.
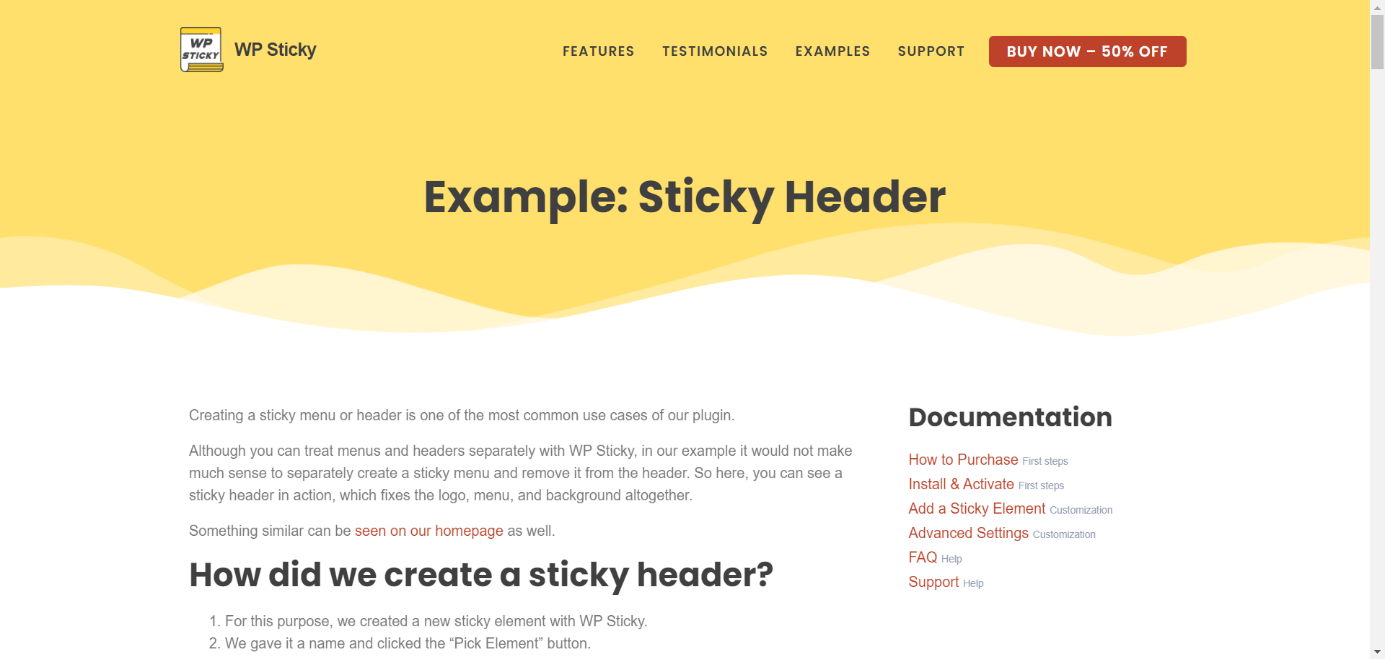
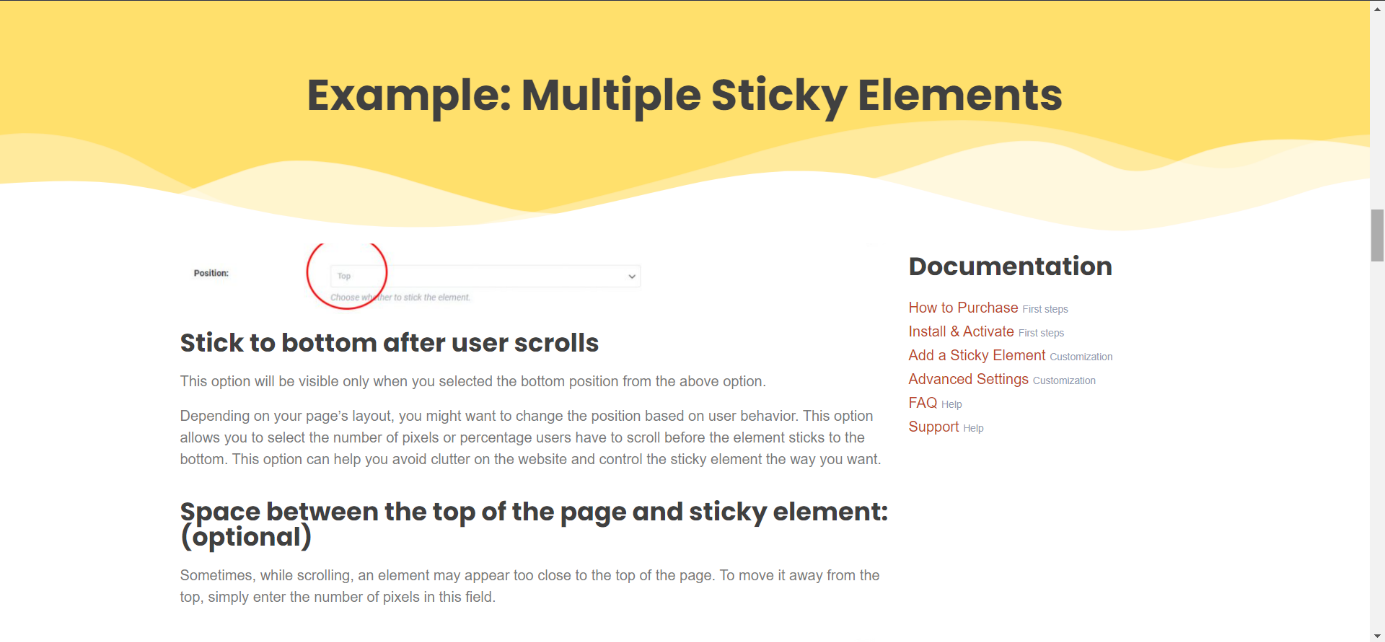
After that, there is a bunch of options to customize its look and behavior. You can choose the position where you want to stick your menu, make space between the top of the page and the sticky element, choose the effects, the background color, and select the devices for which you want to make the menu sticky, and many more.
Here is an example of the sticky menu created with WP Sticky PRO:

The PRO version also allows you to create Multiple Sticky Elements that will stay at the top of your webpage when you scroll it down. For example, this is the sticky title section and a sticky widget:
Conclusion
WP Sticky PRO is the best way to make the elements on your website sticky. Whether you need a sticky menu, headers, titles, or widgets, you can create them all easily with the free or PRO version of this plugin. However, if you like simplicity, efficiency, and a plethora of features, you should opt for the PRO version.