How to Download Media Library from WordPress
WordPress is a popular platform for bloggers and website owners. It offers a range of features that make it easy to manage your content, including the Media Library. This library stores all the images, videos, and other media files used on your website. This makes it easy to access all your media files in one place and use them whenever you need them.
However, if you are moving to a new hosting provider or simply want to back up your media files, downloading the Media Library can be a daunting task. In this article, we will guide you through the steps involved in downloading the Media Library from WordPress so that you can save yourself time and effort in managing your content.
Overview of media library and its importance
Media library is an integral part of any website as it stores all the media files such as images, videos, audio files, and documents. It allows website owners to easily upload and manage their media assets in one place. The media library in WordPress is a user-friendly platform that makes it easy for website owners to keep track of their visual assets.
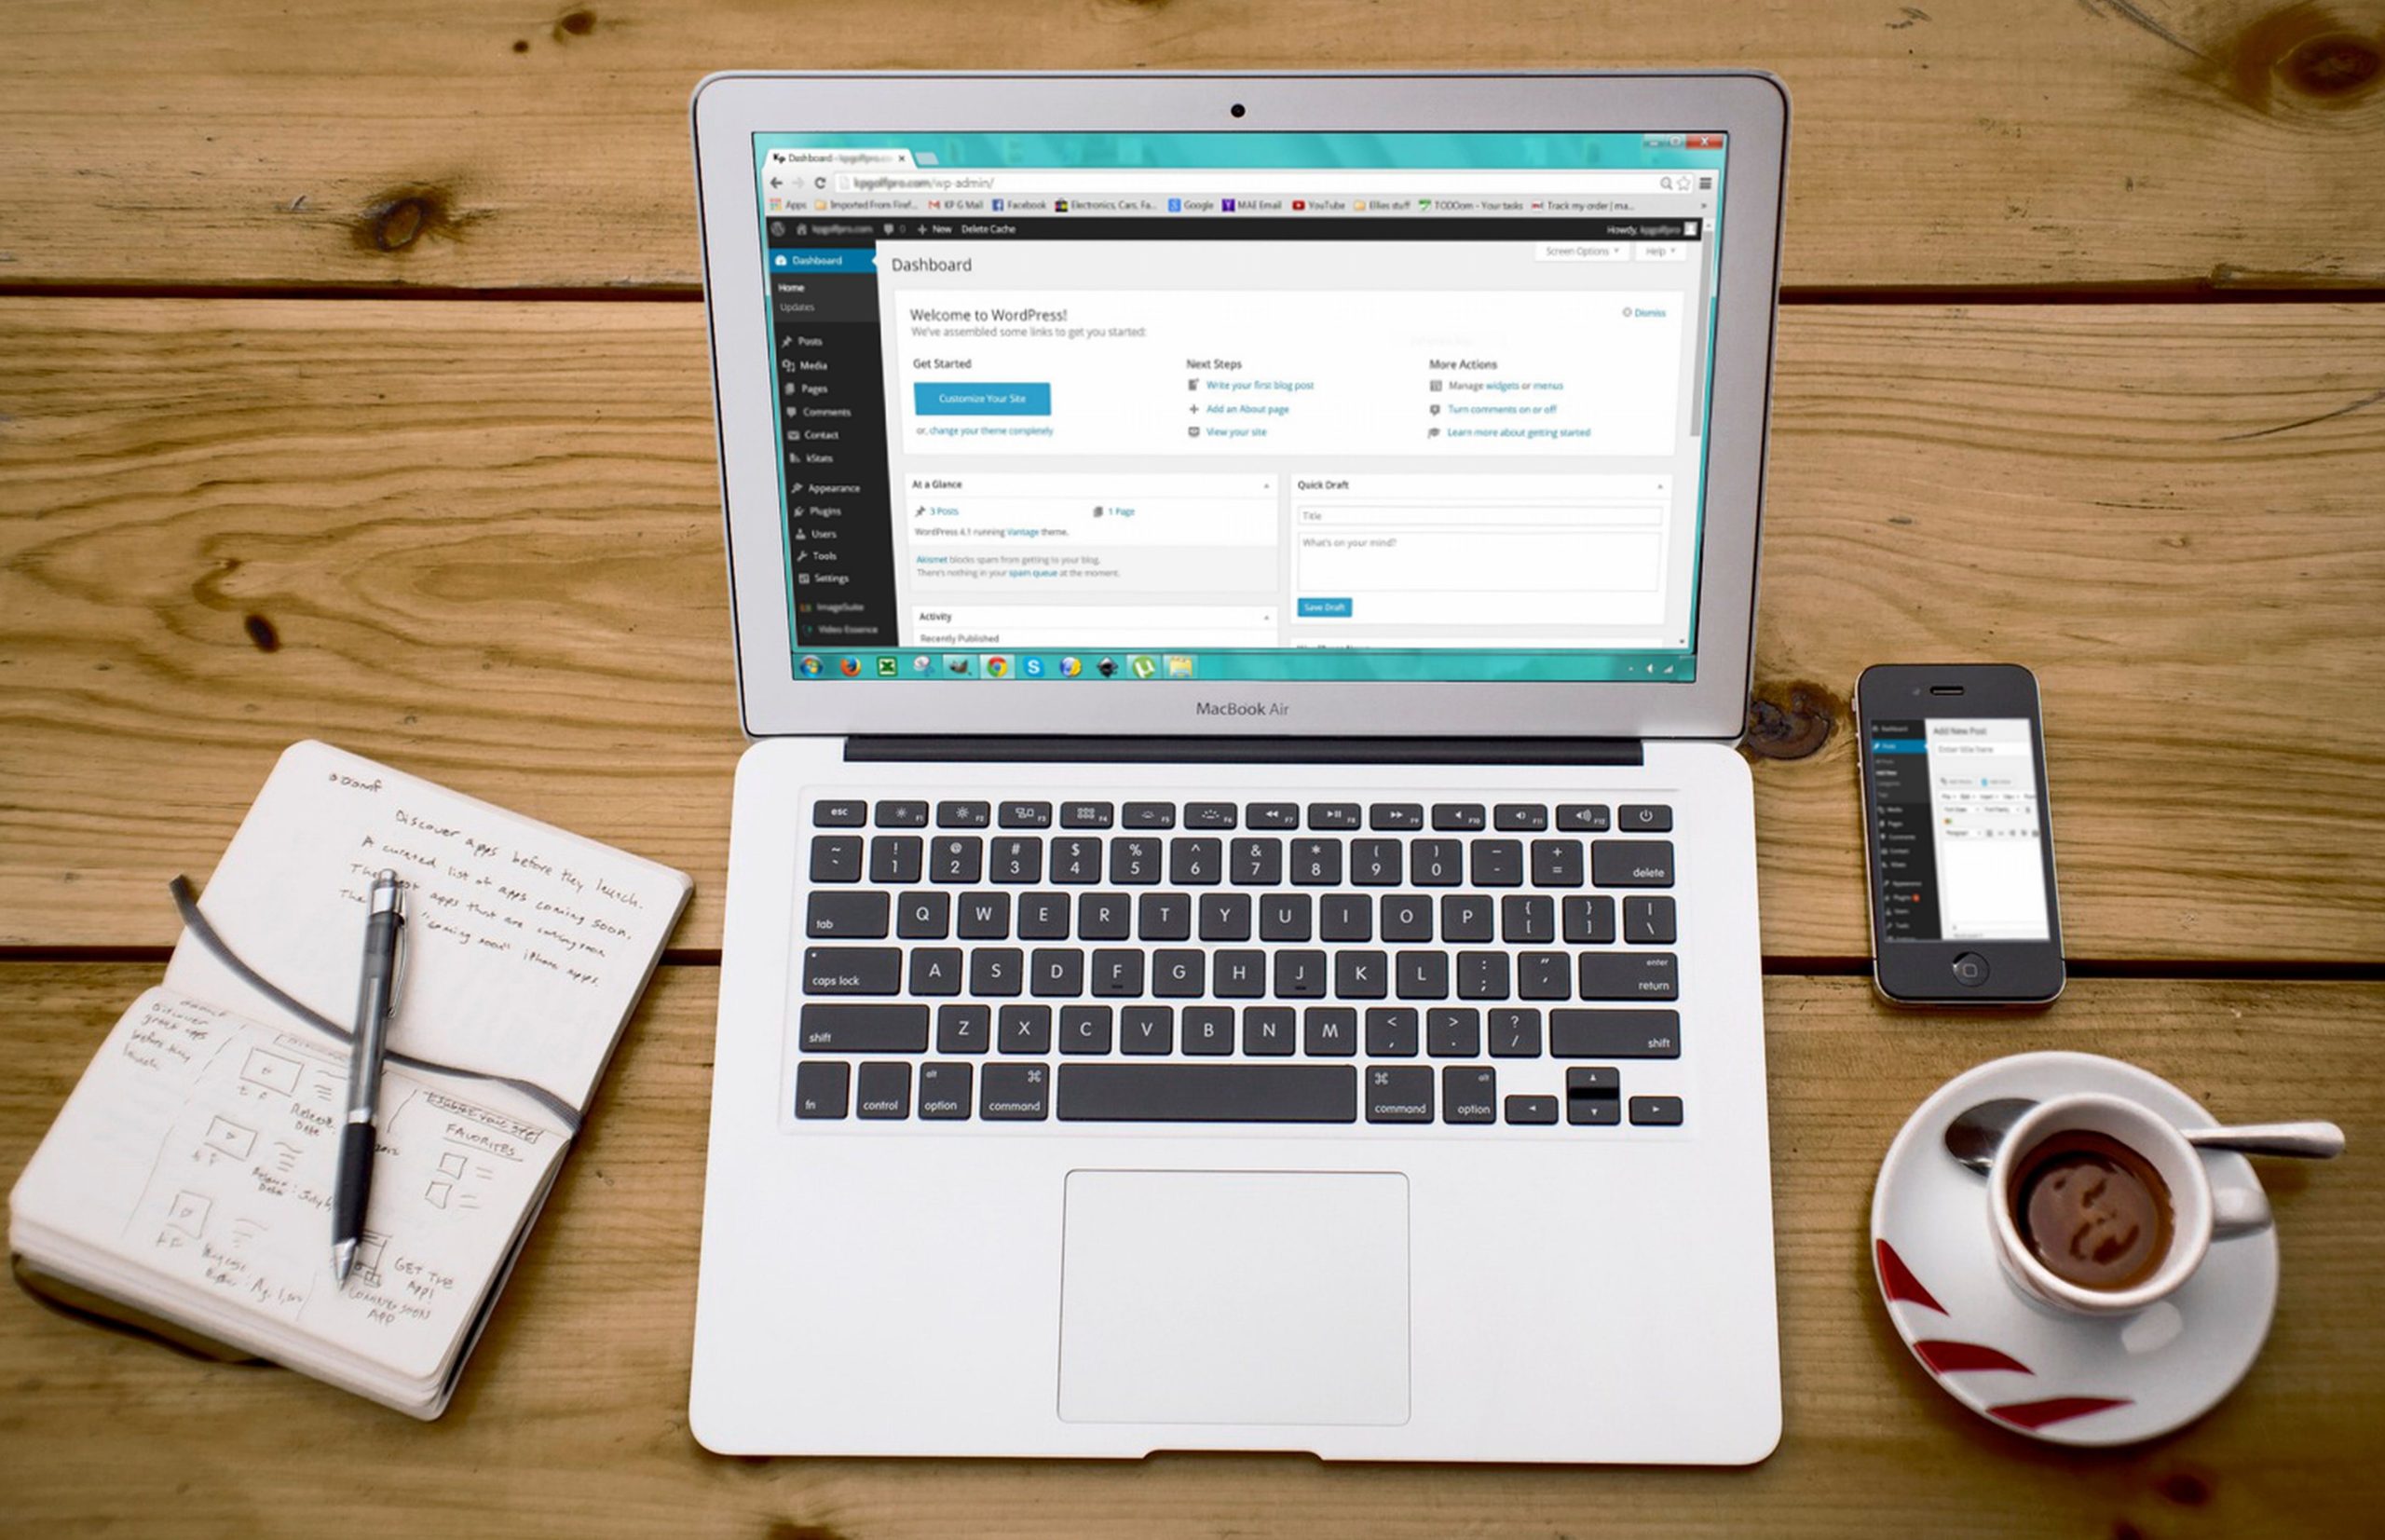
Downloading the media library from WordPress is a straightforward process that can be completed in just a few steps. To begin, log in to your WordPress account and go to the Media Library section. Select all the files that you want to download and click on ‘Download’ option from the dropdown menu. Your media files will then be downloaded into a zip file format which you can store on your computer or external hard drive.
The importance of having an organized media library cannot be overstated as it enables users to quickly locate specific files when needed without wasting valuable time searching through unorganized directories. A functional media library also ensures that your website remains visually appealing with high-quality images and multimedia content, improving user engagement with your site’s visitors. In addition, organizing your content into subfolders helps improve search engine optimization (SEO) by making it easier for search engines’ crawlers to index relevant pages on your site more effectively.
Option 1: Using the built-in export function
Using the built-in export function is a great way to download your media library from WordPress. This option allows you to export all of your media files in one go, and you can choose the format for the exported file. To use this function, first navigate to the Tools menu in your WordPress dashboard and then select Export. From there, choose Media as the type of content that you want to export.
Once you’ve selected Media, click on Download Export File and wait for it to finish downloading. Depending on how large your media library is, this process may take some time. Once the file has downloaded, open it up in an image viewer or editor to see all of your exported images.
Overall, using the built-in export function is an easy and efficient way to download your media library from WordPress. It’s also a great option if you want to move your content over to another platform or backup all of your files at once.

Option 2: Using a plugin for easier download
One of the easiest ways to download your media library from WordPress is by using a plugin. Plugins are third-party applications that you can add to your WordPress website to extend its functionality. There are several plugins available on the WordPress repository that can help you download your media library with ease.
One such plugin is Media Library Export, which allows you to export all your media files, including images and videos, in a single click. The plugin also allows you to select specific dates or categories for exporting your media files. Another popular plugin is WP Media Folder, which comes with an integrated file manager that enables easy organization and management of your media files. You can easily bulk select and download all or specific folders within seconds using this plugin.
Using such plugins not only saves time but also makes it easier for non-technical users to handle their website’s media content without having any coding knowledge. With just a few clicks, anyone can export their entire media library in no time and secure their data against any unforeseen events like site crashes or hacking attempts.
Step-by-step guide for both options
Option 1: Using a WordPress Plugin
Step 1: Go to the WordPress dashboard and click on “Plugins” in the left menu.
Step 2: Search for “Export Media Library” plugin and install it.
Step 3: Once installed, activate the plugin by clicking on “Activate”.
Step 4: Click on “Media” in the left menu and select “Export Media Library”.
Step 5: Choose your preferred file format (XML or CSV) and click on “Download Export File”.
Option 2: Manually Downloading Media Files
Step 1: Go to the WordPress dashboard and click on “Media” in the left menu.
Step 2: Select all media files you want to download by checking each box.
Step 3: Click on ‘Bulk Options’ drop-down button located above media files, choose ‘Download’.
Step 4: Your browser will prompt you with a downloading option for zip file containing all selected media files.
Both options are quite simple and can be completed within minutes. It is important to have an up-to-date backup of your website’s media library as it contains valuable assets that could otherwise be lost forever if not backed up regularly.
Tips for organizing and optimizing your media library
Once you have successfully downloaded your media library from WordPress, it is important to organize and optimize it for easy access and usage. The first step is to remove any duplicate files or irrelevant content that may clutter your library. This can be achieved by using a plugin or manually going through each file.
Next, consider renaming your files with descriptive titles that make it easier to identify them at a glance. This will also help with search engine optimization as the file name can be used as an alt tag for images.
Finally, consider compressing large files to reduce their size without compromising on quality. This will not only save storage space but also improve website loading speed. There are several plugins available that can help with this task such as WP Smush and EWWW Image Optimizer. By following these tips, you’ll be able to effectively organize and optimize your media library for better performance and user experience.
Conclusion: Importance of backing up your media library.
In conclusion, backing up your media library is crucial to ensure the safety and accessibility of your website’s content. With so many unforeseeable events that could lead to data loss, it’s essential to have a backup plan in place. By downloading your media library from WordPress regularly, you can ensure that all of your images, videos, and other files are saved on a separate drive or cloud storage service.
Moreover, having a backup of your media library can also help you recover lost information quickly and efficiently. Whether you accidentally delete something or experience a technical issue with your website, having a copy of all your files means that you won’t have to start from scratch when building back up. Ultimately, taking the time to download and store a backup copy of your media library is an investment in the longevity and security of your website’s content.